
Dehydrating green beans is a great way to preserve their freshness and flavor for an extended period. By removing the water content from the beans, you can enjoy them throughout the year, even when they are out of season. In this article, we will explore the various methods of dehydrating green beans at home, from understanding the dehydration process to storing and using the dehydrated beans in your recipes.
Understanding the Dehydration Process
Before we delve into the different methods of dehydrating green beans, let’s take a moment to understand the science behind the process. Dehydration involves removing the moisture from the beans, inhibiting the growth of bacteria and other microorganisms that cause food spoilage.
During dehydration, the water content in the beans evaporates, leaving behind a concentrated form of flavor. This preservation technique not only extends the shelf life of green beans but also intensifies their taste and nutritional value.
Now, let’s explore the science behind dehydration in more detail.
The Science Behind Dehydration
Dehydration is a simple yet effective process that relies on air circulation and low humidity to remove moisture. When the green beans are exposed to heat, the water within the beans turns into vapor and escapes, leaving behind dehydrated beans.
The process of dehydration can be achieved through various methods, including sun drying, air drying, and using a food dehydrator. Each method has its own advantages and considerations, such as the time required, energy consumption, and the quality of the final product.
It’s important to note that dehydration does not significantly alter the nutritional content of green beans. While some vitamins may be lost during the process, the beans still retain most of their essential nutrients, such as dietary fiber, vitamins B and C, and minerals like iron and potassium.
Furthermore, the concentrated flavor of dehydrated green beans can enhance the taste of various dishes. They can be rehydrated and used in soups, stews, stir-fries, or even ground into a powder to add a burst of flavor to sauces and seasonings.
Benefits of Dehydrating Green Beans
Dehydrating green beans offers numerous benefits. Firstly, it allows you to enjoy your favorite vegetable all year round, even when fresh green beans are not readily available. Whether it’s the middle of winter or you live in an area where green beans are not locally grown, dehydrated beans provide a convenient and accessible option.
Secondly, dehydrated beans are lightweight and compact, making them ideal for camping trips, hiking, or any outdoor adventure where space is limited. They can be easily packed into backpacks or stored in small containers, providing a nutritious and lightweight food source on the go.
Moreover, dehydrated green beans require minimal storage space and have a long shelf life when stored properly. Unlike fresh produce, which can spoil quickly if not consumed, dehydrated beans can be stored for months or even years, depending on the storage conditions. This makes them an excellent addition to your emergency food supply, ensuring you have a nutritious food source during times of need.
In addition to their long shelf life, dehydrated green beans retain their nutritional value. This means that even after months of storage, they still provide essential vitamins, minerals, and dietary fiber. So, whether you’re preparing for a natural disaster or simply want to have a backup food source, dehydrated green beans offer a reliable and nutritious option.
Lastly, dehydrating green beans can be a cost-effective way to reduce food waste. By dehydrating excess or leftover green beans, you can extend their usability and prevent them from going to waste. This not only saves you money but also contributes to a more sustainable approach to food consumption.
In conclusion, understanding the science behind the dehydration process and the benefits of dehydrating green beans can empower you to make informed decisions about food preservation. Whether you’re looking to enjoy green beans year-round, enhance the flavor of your dishes, or prepare for emergencies, dehydrated green beans offer a versatile and nutritious option.
Preparing Your Green Beans for Dehydration
Before you start dehydrating your green beans, it’s essential to prepare them properly to ensure the best results. Here are some key steps to follow:
Choosing the Right Green Beans
When selecting green beans for dehydration, opt for fresh and tender ones. Avoid beans that have blemishes, bruises, or any signs of spoilage. Keep in mind that thicker beans may take longer to dehydrate, so try to choose uniformly sized beans for more consistent results.
Did you know that green beans are a great source of vitamins A, C, and K? They also contain fiber, folate, and potassium, making them a nutritious addition to your diet.
Cleaning and Trimming Your Beans
Thoroughly wash the green beans under cool running water to remove any dirt or debris. Once clean, trim off the stem ends and any discolored or damaged portions of the beans.
It’s important to remove any unwanted parts of the beans to ensure a pleasant texture and taste in the final dehydrated product. Plus, removing the stem ends helps the beans dehydrate more evenly.
Blanching: An Important Step
Blanching the green beans before dehydration helps preserve their vibrant color, texture, and nutritional value. To blanch the beans, bring a large pot of salted water to a boil. Add the beans and cook for 2-3 minutes, then immediately transfer them to an ice bath to stop the cooking process.
Blanching also helps destroy enzymes that can cause the beans to deteriorate during storage. Once blanched, pat the beans dry with a clean kitchen towel or paper towels.
Did you know that blanching is a common technique used in food preservation? It’s not only useful for green beans but also for other vegetables like broccoli, carrots, and peas. Blanching helps maintain the quality of the produce and extends its shelf life.
After blanching, the green beans will have a vibrant green color and a slightly tender texture. They are now ready for the dehydration process.
Dehydrating green beans is a great way to preserve their freshness and enjoy them throughout the year. Whether you plan to use them in soups, stews, or as a healthy snack, following these preparation steps will ensure the best results.
Different Methods of Dehydrating Green Beans
Now that you have your green beans prepared, it’s time to explore the different methods of dehydration. Choose the method that suits your preferences and the resources you have available:
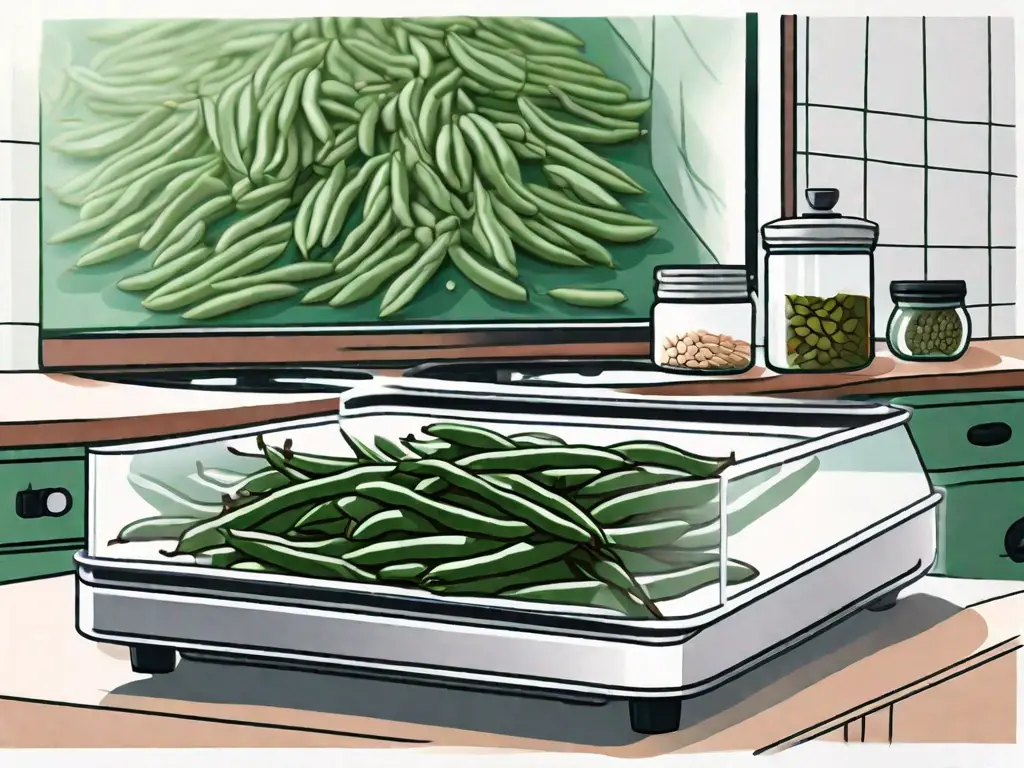
Using a Dehydrator
A dehydrator is an excellent investment if you plan on dehydrating foods regularly. Simply arrange the blanched and dried green beans on the dehydrator trays, leaving some space between them for air circulation. Set the dehydrator to the recommended temperature for vegetables, usually around 125-135°F (52-57°C), and let it run for 8-12 hours, or until the beans are completely dried.
Make sure to rotate the trays occasionally for even drying. Once the green beans are crisp and brittle to the touch, they are ready for storage.
Utilizing Your Oven
If you don’t have a dehydrator, you can use your oven to dry green beans. Preheat the oven to its lowest temperature (ideally around 140°F or 60°C) and line a baking sheet with parchment paper. Spread the blanched and dried green beans in a single layer on the baking sheet, ensuring they are not touching each other.
Place the baking sheet in the oven and prop the oven door open slightly to allow moisture to escape. This will help maintain the low temperature required for dehydration. Check the beans periodically and rotate the baking sheet if necessary. Depending on your oven, the drying process may take 12-24 hours.
Trying the Sun-Drying Method
If you live in a hot and dry climate, you can harness the power of the sun to dehydrate your green beans. Arrange the blanched and dried beans on a clean, dry surface, such as a mesh or wire rack, and place them in a sunny spot with good airflow.
Protect the beans from insects and dust by covering them with a mesh or cheesecloth. It may take several days for the beans to dry completely, depending on the temperature and humidity levels in your area. Bring the beans indoors overnight to prevent any moisture absorption.
Storing Your Dehydrated Green Beans
After dehydrating your green beans, it’s crucial to store them properly to maintain their quality and flavor:
Proper Packaging for Longevity
Place the cooled and fully dried green beans in airtight containers, such as glass jars or resealable plastic bags. Remove as much air as possible from the packaging to minimize moisture absorption. Consider using vacuum-sealed bags or using a vacuum sealer for optimal storage.
Ideal Storage Conditions
Store the dehydrated green beans in a cool, dry, and dark place, such as a pantry or a cupboard. Keep them away from direct sunlight and sources of heat, as exposure to light and excessive heat can degrade their quality over time.
If stored properly, dehydrated green beans can last for up to a year. However, it’s always best to check for any signs of spoilage, such as mold or off smells, before using them in your recipes.
Using Dehydrated Green Beans in Your Recipes
Now that you have a stash of dehydrated green beans, it’s time to incorporate them into your favorite dishes. Here’s how you can rehydrate and enjoy them:
Rehydrating Your Green Beans
To rehydrate the green beans, simply soak them in a bowl of warm water for about 20-30 minutes until they become plump and tender. Drain the excess water and use the rehydrated beans as you would fresh green beans in your recipes.
Delicious Recipes to Try with Dehydrated Green Beans
Dehydrated green beans can be used in a variety of dishes, adding a burst of flavor and texture. Here are a few ideas to spark your culinary creativity:
- Add rehydrated green beans to stir-fries, soups, and stews for a nutritious and colorful addition.
- Toss rehydrated green beans with olive oil, garlic, and your favorite seasonings, then roast them in the oven until crispy for a tasty snack.
- Blend rehydrated green beans with herbs, garlic, olive oil, and lemon juice to create a flavorful spread or dip.
- Incorporate rehydrated green beans into casseroles, quiches, or frittatas for a delightful twist.
Get creative with your recipes and enjoy the convenience and flavor of dehydrated green beans throughout the year.
Dehydrating green beans at home is a simple and rewarding process that allows you to savor the freshness of this beloved vegetable all year long. Whether you choose to use a dehydrator, oven, or the sun-drying method, proper preparation and storage are key to preserving the quality of your dehydrated beans. So roll up your sleeves, prepare your green beans, and embark on a dehydrating adventure that will stock your pantry with delicious and nutritious green beans for months to come.
