
Potato chips are a beloved snack enjoyed by people all over the world. While store-bought potato chips are convenient and readily available, there’s something special about making your own at home. Not only can you customize the flavors to suit your taste preferences, but you can also ensure that your chips are made with fresh ingredients and without any unnecessary additives. In this article, we will guide you through the process of drying potato chips at home, allowing you to enjoy this crispy treat anytime you want.
Understanding the Drying Process
Before we dive into the details of drying potato chips, it’s important to understand the science behind the process. Drying foods, including potato chips, involves removing moisture from the food, which inhibits the growth of bacteria and prolongs the shelf life. When water is extracted from the potatoes, the chips become crispy and lightweight, perfect for snacking.
But how exactly does the drying process work? Let’s take a closer look.
The Science Behind Drying Foods
Drying foods is a combination of moisture removal and preservation. When you expose the potatoes to low heat or air circulation, moisture in the form of water molecules evaporates from the surface. The heat or airflow causes the water to transform from liquid to vapor, leaving the potato chips dry and crisp.
During the drying process, the moisture content of the potato chips decreases, which inhibits the growth of bacteria and other microorganisms. This is because most bacteria require a certain level of moisture to survive and reproduce. By removing the moisture, we create an environment that is unfavorable for bacterial growth.
Furthermore, drying also helps to preserve the nutritional value of the potatoes. Heat-sensitive vitamins and minerals can be lost during cooking, but by drying the chips at a low temperature, we minimize nutrient loss and retain more of the potato’s natural goodness.
Why Dry Your Own Potato Chips?
You might be wondering, why bother drying potato chips at home when you can easily purchase them from the store? Well, there are several reasons why making your own dried potato chips is worth the effort.
Firstly, it allows you to have complete control over the ingredients and flavors. Store-bought potato chips often contain additives and preservatives that may not be the healthiest option. By making your own, you can choose organic potatoes and use natural seasonings, ensuring a healthier snack for you and your family.
Additionally, homemade chips tend to be healthier since you have control over the amount of oil and salt used. You can opt for healthier cooking oils and adjust the salt level to your preference, reducing the overall sodium content of the chips.
Furthermore, making your own dried potato chips can be a fun and creative culinary adventure. You can experiment with different seasonings and spices to create unique and personalized chip varieties. From classic flavors like barbecue and sour cream and onion to more adventurous combinations like chili lime or garlic parmesan, the possibilities are endless.
Lastly, the satisfaction and pride that come from making your own snacks at home are hard to beat. There’s something incredibly rewarding about biting into a crispy, flavorful chip that you made with your own hands. It’s a small accomplishment that can bring joy and a sense of accomplishment to your day.
So, the next time you’re craving potato chips, consider giving homemade dried potato chips a try. Not only will you have a delicious and healthier snack, but you’ll also gain a deeper appreciation for the science and artistry behind the drying process.
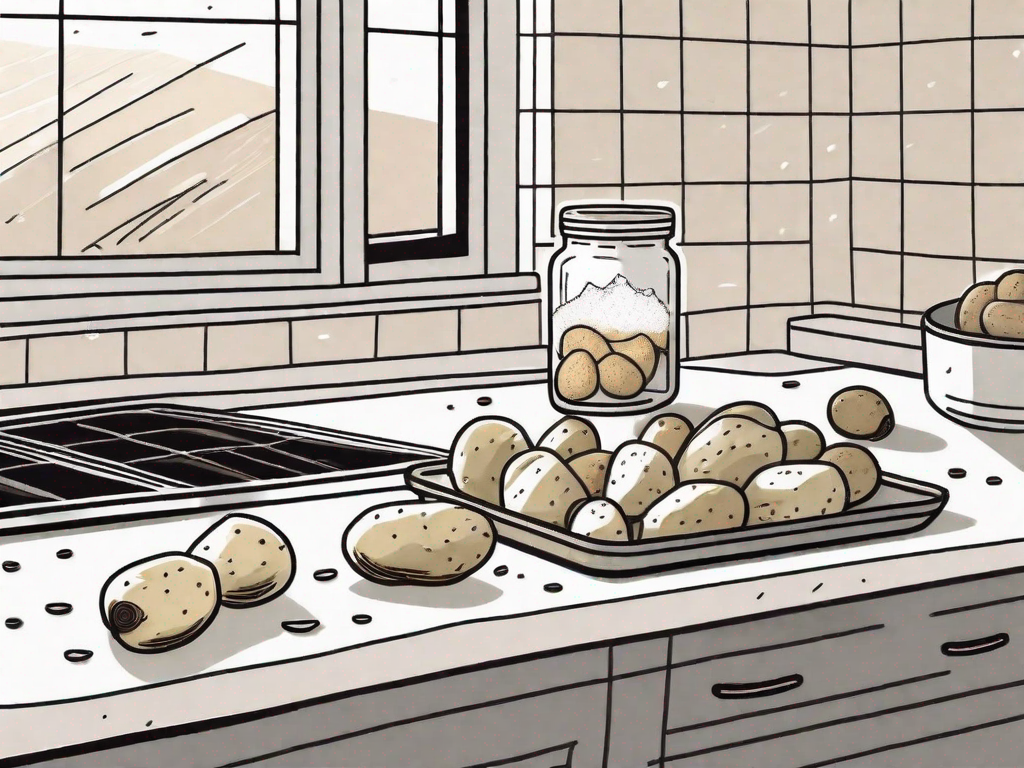
Choosing the Right Potatoes for Drying
When it comes to making potato chips, not all potatoes are created equal. Some varieties are better suited for drying due to their texture and starch content. Let’s explore the factors you should consider when selecting potatoes for drying.
Factors to Consider When Selecting Potatoes
One important factor to consider is the moisture content of the potato. Potatoes with high moisture content are not ideal for drying, as they will take longer and may not achieve the desired crispiness. Look for potatoes that have a lower water content.
Another factor to consider is the size of the potatoes. Smaller potatoes tend to dry more evenly and quickly compared to larger ones. This is because smaller potatoes have a higher surface area to volume ratio, allowing for better moisture evaporation during the drying process.
Furthermore, the shape of the potato can also affect the drying process. Potatoes with a more uniform shape, such as round or oval, are easier to slice evenly, resulting in chips that dry uniformly. Irregularly shaped potatoes may require more effort to slice consistently, leading to uneven drying and varying textures in the final product.
Best Potato Varieties for Drying
Several potato varieties are known for their suitability for making potato chips. Russet potatoes, also known as Idaho potatoes, are popular due to their high starch content. This starch helps in achieving a crisp texture when dried. Additionally, Russet potatoes have a neutral flavor, allowing the seasoning and flavors of the chips to shine through.
Yukon Gold potatoes are another great option for drying. They have a creamy texture and rich flavor that complements the drying process. The natural buttery taste of Yukon Gold potatoes adds a delightful dimension to the chips, making them a favorite among chip enthusiasts.
For those looking for a unique twist, purple potatoes can also be used for drying. These vibrant potatoes not only add a pop of color to your chips but also have a slightly nutty flavor. The purple hue of the chips can be a fun and visually appealing addition to snack time.
Lastly, if you prefer a sweeter chip, consider using sweet potatoes for drying. Sweet potatoes have a higher sugar content, which caramelizes during the drying process, resulting in a slightly sweet and crispy chip. The natural sweetness of sweet potatoes can be a delightful surprise for those seeking a different flavor profile.
Preparing Your Potatoes for Drying
Now that you’ve selected the right potatoes, it’s time to prepare them for the drying process. Proper cleaning and peeling of the potatoes are essential to ensure a quality end result.
Cleaning and Peeling Your Potatoes
Start by thoroughly washing the potatoes under running water. Scrub off any dirt or debris from the skin using a vegetable brush. This step is crucial as it removes any impurities that might affect the taste and texture of the dried potatoes.
Once clean, use a peeler to remove the skin. Removing the skin will result in a more even drying process and prevent any bitterness that might come from the skin. Be sure to remove any blemishes or dark spots as well, as they can affect the overall quality of the dried potatoes.
Some people prefer to leave the skin on for added flavor and texture. If you choose to do so, make sure to scrub the potatoes thoroughly and remove any dirt or debris before slicing them.
Cutting Techniques for Perfect Chips
After peeling, it’s time to slice the potatoes into thin, uniform slices. To achieve evenly dried chips, aim for a thickness of around 1/8 inch. You can use a mandoline slicer or a sharp knife to make the slices.
When using a mandoline slicer, be cautious and use the safety guard to protect your fingers. The mandoline slicer allows you to achieve consistent thickness, resulting in evenly dried chips. However, if you don’t have a mandoline slicer, a sharp knife will do the job just fine. Just make sure to take your time and cut the slices as evenly as possible.
Keep in mind that thicker slices will take longer to dry, while thinner slices may become too crisp and brittle. Finding the right balance is key to achieving the perfect texture for your dried potato chips.
Once you have sliced all the potatoes, you can further enhance the flavor by adding seasonings. Sprinkle some salt, pepper, or your favorite herbs and spices onto the slices. This will infuse the chips with delicious flavors that will intensify during the drying process.
Now that your potatoes are cleaned, peeled, and sliced, they are ready for the drying process. The next steps will involve carefully arranging the slices on drying racks or trays and setting the appropriate temperature and time for drying. But before we delve into that, let’s explore some interesting facts about potatoes and their history.
Different Methods of Drying Potato Chips
There are several methods you can use to dry your potato chips at home. Let’s explore the most common ones:
Oven Drying Method
The oven drying method is the most accessible and convenient option for drying potato chips. Preheat your oven to a low temperature, around 200°F (93°C). Arrange the potato slices in a single layer on a baking sheet lined with parchment paper. Place the sheet in the oven and allow the chips to dry for approximately 2-3 hours, or until they are crispy and golden brown. Keep a close eye on them, as the drying time may vary depending on the thickness of the slices and the oven’s temperature.
Dehydrator Drying Method
If you have a food dehydrator, this method will provide consistent results. Arrange the potato slices on the dehydrator trays, making sure not to overlap them. Set the dehydrator to a temperature of around 125°F (52°C) and let it run for 6-8 hours. Check the chips periodically to ensure they reach the desired level of crispiness.
Air Drying Method
For those who prefer the most natural and traditional way of drying potato chips, air drying is a viable option. Place the potato slices in a single layer on a wire rack or a clean cloth, ensuring that they are not touching each other. Choose a well-ventilated area with low humidity and let the chips dry for 24-48 hours, depending on the ambient conditions. It’s essential to turn the slices occasionally during the drying process to promote even drying.
Seasoning Your Dried Potato Chips
One of the most exciting parts of making your own potato chips is the ability to experiment with different seasonings and flavors. Here are some classic and creative seasoning ideas to enhance your homemade chips:
Classic Seasoning Ideas
Classic flavors like salt and vinegar, barbecue, and sour cream and onion never fail to satisfy. Sprinkle your dried potato chips with your favorite seasoning blends or create your own using a combination of salt, pepper, paprika, garlic powder, and dried herbs.
Creative Seasoning Combinations
If you’re feeling adventurous, why not try some unique seasoning combinations? Consider adding a dash of chili powder for a spicy kick, or sprinkle some grated parmesan cheese and dried rosemary for a gourmet twist. The possibilities are endless, so let your creativity run wild!
Now that you have all the information needed, it’s time to roll up your sleeves and start drying your own potato chips at home. With a little practice and experimentation, you’ll soon be enjoying crispy, flavorful chips that are sure to impress your family and friends. So, grab your favorite potato variety, slice it up, and embark on this delicious homemade snack adventure!
