
Drying honey may not be a common practice for every home cook, but it is a valuable technique to have in your culinary repertoire. By removing the moisture from honey, you can transform it into a versatile ingredient with a longer shelf life. In this article, we will guide you through the process of drying honey at home, step by step.
Understanding the Basics of Honey Drying
If you’re new to the concept of honey drying, let’s start with a brief explanation. Honey drying involves removing the water content from liquid honey to create a solid, concentrated form. While the traditional liquid honey is still delicious and suitable for many purposes, dried honey offers unique advantages. Let’s explore why drying honey may be worth considering.
What is Honey Drying?
Honey drying is a method of reducing the moisture content in honey until it forms a solid substance. This can be achieved through the use of a dehydrator, which gently removes the water from the honey while preserving its natural flavor and sweetness.
When honey is harvested from beehives, it typically has a high water content, ranging from 17% to 20%. This moisture content makes the honey prone to spoilage and fermentation over time. By drying the honey, the water content is significantly reduced, resulting in a more stable and longer-lasting product.
The process of honey drying involves carefully controlling the temperature and airflow to ensure that the honey dries evenly without losing its nutritional value or beneficial enzymes. The dehydrator gently removes the water from the honey, leaving behind a concentrated and solid form.
Why Dry Honey?
Dried honey offers several benefits over its liquid counterpart. First, it has a longer shelf life, allowing you to store it for extended periods without worrying about spoilage or fermentation. This is particularly advantageous for beekeepers who want to preserve their honey harvest for future use or for individuals who enjoy having a steady supply of honey throughout the year.
In addition to its extended shelf life, dried honey is more convenient for certain culinary applications. When honey is in its solid form, it can be easily measured, stored, and incorporated into recipes. Bakers, in particular, often prefer using dried honey as it provides consistent sweetness and texture to their baked goods.
Furthermore, dried honey can be easily powdered or granulated, making it an excellent sweetener for various recipes. The powdered form of dried honey can be sprinkled over desserts, added to beverages, or used as a topping for breakfast cereals. Its granulated form can be used as a substitute for sugar in recipes, providing a unique and natural sweetness.
It’s important to note that while dried honey offers these advantages, it may have a slightly different taste compared to liquid honey. The drying process can intensify the flavors and create a deeper, caramelized taste. This can add a delightful complexity to dishes and beverages.
In conclusion, honey drying is a process that transforms liquid honey into a solid, concentrated form. It offers several benefits, including a longer shelf life, convenience in culinary applications, and versatility as a sweetener. Whether you’re a beekeeper looking to preserve your honey harvest or a home cook seeking new ways to incorporate honey into your recipes, dried honey is worth considering.
Necessary Equipment for Drying Honey
Before you start the honey drying process, it’s essential to gather the necessary equipment. The following items will help ensure that you can dry your honey effectively:
Choosing the Right Dehydrator
The key tool for honey drying is a dehydrator. Look for a dehydrator that has adjustable temperature settings and ample drying space. This will allow you to dry your honey evenly and with maximum efficiency.
When selecting a dehydrator, consider the capacity you need. If you have a large amount of honey to dry, opt for a dehydrator with multiple trays or racks. This will enable you to dry a significant quantity of honey at once, saving you time and effort.
Additionally, pay attention to the dehydrator’s temperature range. Honey should be dried at a low temperature to preserve its natural enzymes and nutrients. A dehydrator with adjustable temperature settings will allow you to set the ideal drying temperature for your honey.
Other Essential Tools
In addition to a dehydrator, you will need a few other tools for the drying process. These include a mesh tray or sheet to hold the honey and prevent it from falling through the dehydrator racks, a spatula for spreading the honey evenly, and a food thermometer to monitor the temperature during drying.
When choosing a mesh tray or sheet, ensure that the holes are small enough to prevent the honey from dripping through. This will help maintain the integrity of the honey and prevent any loss during the drying process.
The spatula plays a crucial role in spreading the honey evenly on the mesh tray or sheet. This ensures that the honey dries uniformly, resulting in a consistent texture and flavor throughout.
A food thermometer is essential for monitoring the temperature of the dehydrator. It allows you to keep track of the drying temperature and make any necessary adjustments to ensure the honey is dried at the optimal temperature.
Remember, proper equipment is key to achieving the best results when drying honey. By investing in a quality dehydrator, mesh tray or sheet, spatula, and food thermometer, you can ensure that your honey drying process is efficient and successful.
Preparing Honey for Drying
Before you can begin the drying process, it’s crucial to select the right honey and follow some pre-drying steps. Here’s what you need to do:
Selecting the Best Honey
When it comes to honey drying, not all types of honey are created equal. Consider choosing raw honey that has not been heat-treated or filtered excessively. This type of honey tends to have a lower water content and will yield better results when dried.
Raw honey is known for its rich flavor and natural sweetness. It is obtained straight from the beehive without undergoing any processing that would alter its natural composition. This makes it an ideal choice for drying, as it retains more of its original characteristics.
Additionally, raw honey contains beneficial enzymes and antioxidants that may be lost during the heating and filtering processes. By selecting raw honey, you are not only enhancing the flavor of your dried honey but also maximizing its potential health benefits.
Pre-Drying Steps
Prior to drying, make sure your honey is at room temperature and easily spreadable. If it has crystallized, gently warm it until it becomes more viscous. You can do this by placing the honey container in a bowl of warm water for a few minutes.
Crystallization is a natural process that occurs when honey’s glucose content exceeds its solubility limit. While it does not indicate spoilage or a decrease in quality, it can make the honey less spreadable and more difficult to work with. By gently warming the honey, you can restore its smooth consistency, making it easier to handle during the drying process.
It’s important to note that excessive heating can degrade the quality of honey, so be cautious not to overheat it. A gentle warming process is sufficient to liquefy the crystallized honey without causing any damage to its natural properties.
Once the honey is at room temperature and has a spreadable consistency, you are ready to proceed with the drying process. The pre-drying steps ensure that your honey is in the optimal state for successful drying, allowing you to achieve the desired texture and flavor in the final product.
The Honey Drying Process
Now that your honey is prepared, it’s time to proceed with the drying process itself. Follow these steps to ensure optimal results:
Setting Up Your Dehydrator
Before adding the honey, set your dehydrator to a low temperature between 95°F (35°C) and 105°F (40°C). Lay a mesh tray or sheet on the dehydrator racks to create a flat surface for spreading the honey. This will prevent the honey from dripping or falling through the racks.
Once your dehydrator is ready, it’s important to note that the drying process is a crucial step in preserving the quality and shelf life of your honey. By removing excess moisture, you are creating an environment that inhibits the growth of bacteria and yeast, ensuring that your honey remains fresh for a longer period of time.
Now, let’s dive deeper into the steps involved in the honey drying process.
Monitoring the Drying Process
Depending on the moisture content of your honey and the desired dryness level, the drying process can take anywhere from 8 to 24 hours. Regularly check the honey’s consistency using a food thermometer to ensure it remains within the desired temperature range. Stir and spread the honey occasionally to promote even drying.
As you monitor the drying process, it’s important to understand the science behind it. Honey is a natural humectant, meaning it has the ability to attract and retain moisture from its surroundings. By controlling the drying temperature and time, you are effectively removing excess moisture without compromising the natural properties and flavor of the honey.
Keep in mind that the drying time can vary based on factors such as humidity levels and the thickness of the honey layer. Adjust the drying duration as needed until the honey reaches the desired consistency – solid but not overly hard.
While you wait for the honey to dry, take a moment to appreciate the rich history and cultural significance of honey. For centuries, honey has been used not only as a sweetener but also for its medicinal properties and as a symbol of fertility and abundance. It’s fascinating to think about the journey of honey from the busy bees collecting nectar to the dehydrator where it transforms into a shelf-stable product.
Now that you have a deeper understanding of the honey drying process, you can confidently proceed with drying your honey. Remember, patience is key in achieving the perfect consistency. Once your honey is dried to your satisfaction, you can store it in airtight containers and enjoy its golden goodness for months to come.
Storing Dried Honey
After successfully drying your honey, it’s essential to store it properly to maintain its quality and extend its shelf life. Take note of the following considerations:
Proper Storage Containers
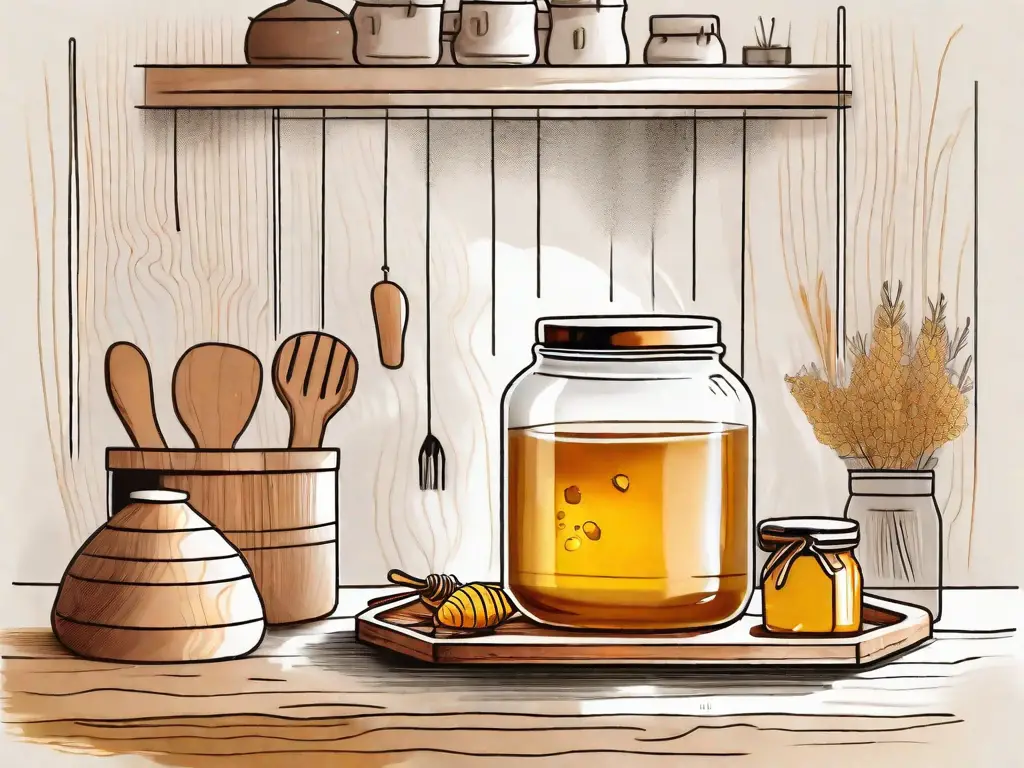
Choose airtight containers such as glass jars or food-grade plastic containers to store your dried honey. Avoid using containers that are not airtight, as exposure to air can lead to moisture absorption and a loss of flavor.
Ideal Storage Conditions
Store your dried honey in a cool, dark place away from direct sunlight or heat sources. It’s important to protect it from moisture and extreme temperature fluctuations, as these can compromise its texture and flavor. With proper storage, dried honey can last up to a year or more.
Now that you know how to dry honey at home, you can explore the possibilities that dried honey offers in your culinary creations. Whether you use it as a sweetener, a powdered topping, or a flavor enhancer, dried honey provides a convenient and versatile way to enjoy the natural goodness of this delightful ingredient.
