
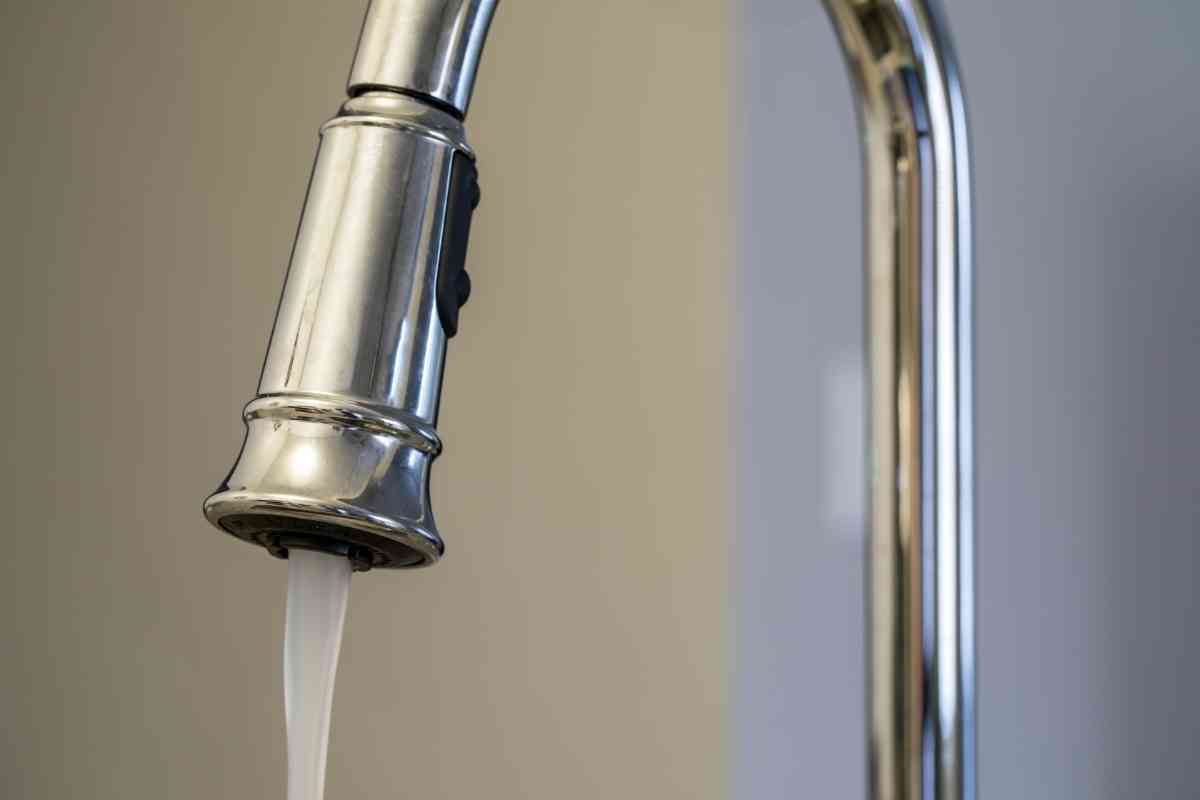
It’s possible that the pull down spray head on your kitchen faucet is clogged, resulting in a weak stream of water. The most common source of this problem is mineral deposits in the spray head’s aerator, outflow prevention, or possibly the intake screen.
A blocked spray head is frequently the source of the problem. A reasonable quantity of vinegar from your kitchen cabinet can solve it.
Pull down faucet spray heads immediately leave hard surface water due to regular usage of kitchen faucets. Because of the hard water deposit, water flow is significantly slowed. Deposits may form inside the spray head, decreasing water flow or causing the hose connector to break. The water deposits may be caught by the air compressor in the spray head.
This blog post will address your questions about cleaning a pull down kitchen faucet’s spray head.
Why Do Pull Down Kitchen Faucet Spray Heads Need to be Cleaned?
The pull down kitchen faucet is an extremely popular choice amongst homeowners because they offer the functionality of a regular faucet with the convenience of a sprayer. Like any other part of your faucet, the spray head can become dirty and clogged over time.
If you notice that water is no longer spraying out of your spray head, there is likely a hard water deposit or calcium build-up within your aerator, outflow preventer, or intake screen.
Clogging of the apertures is avoided by cleaning the spray tap’s head on a regular basis. You may get blockages if you live in a hard water area and don’t have a mild detergent installed in your water supply pipes to soften the water.
According to the US Geological Survey, hard water is derived from mineral elements, such as magnesium and calcium, that can result in hard deposits called lime.
The deposit takes a long time to grow big enough for it to be apparent to the human eye and to clog a faucet. Because the apertures are smaller, mineral deposits are more likely to develop clogs in spray faucet heads.
Small amounts of lime can damage your extended spray kitchen faucets. A little domestic vinegar dissolves the mineral deposits and restores the performance of the spray tap’s head.
Unlike chemical-based cures, vinegar is perfectly fine to utilize on taps. Although it’s not required to remove your spray head, it’s recommended for complete cleaning.
Tips for Cleaning a Pull Down Kitchen Faucet Spray Head
If you are experiencing problems with your pull down kitchen faucet spray head, here are some tips for cleaning it:
Clean the Aerator
The aerator is the little screen that pumps air into the water and turns it into a packet of small streamlets in a traditional kitchen faucet spout. Aerators are also found in spray heads, albeit their placement varies depending on the faucet’s manufacturer.
Most are mounted within the hose or spray nozzle when the hose connects to the spray head. Other manufacturers install them outside the hose or spray head if the hose attaches to the spray head.
Remove the aerator from the spray head’s base, secure the hose with a clothespin or tiny clamp so it doesn’t retract, then detach the head by hand. With a smooth screwdriver, remove the aerator from the hose connector or the spray head.
The spray face aerators are usually removed by unscrewing them with an extendable wrench. Place the aerator under a stream of water and use a sponge to remove the silt. In most cases, that’s all that has to be done to clean your spray head.
Cleaning the Spray Head Without Removing It
There are circumstances where the spray head will not come out until the faucet is entirely removed. There is no need to be concerned. All you’ll need is a plastic sandwich bag large enough to completely cover the spray head, a rubber band, and vinegar.
1/4 to 1/2 cup vinegar should be added to the bag. Put the bag in the vinegar until the spray tap’s head is completely submerged. Remove the bag if required and adjust the vinegar quantity. Wrap a rubber band around the tapped shaft to secure the bag.
Clean the Spray Head After Removing It
Mineral deposits also build up in the spray heads’ perforations and internal parts like the outflow preventer after a lengthy period of use. It’s not practical, and you don’t have to remove the spray head and get all of the garbage out.
To soak the spray heads, you’ll need white distilled vinegar and a large bucket. Dip the whole spray head in heat, including the air compressor, for a few hours, ideally at night. Reattach the spray head to the spray faucet after washing and cleaning it under running water. The water flow from the faucet should now be normal.
How Do You Remove the Pull Down Kitchen Faucet Spray Head?
Hard water accumulation can be found in the outer holes of spray heads and aerators. The aerator is located in the face of the spray head or at the point where the spray head and hose meet in most faucets.
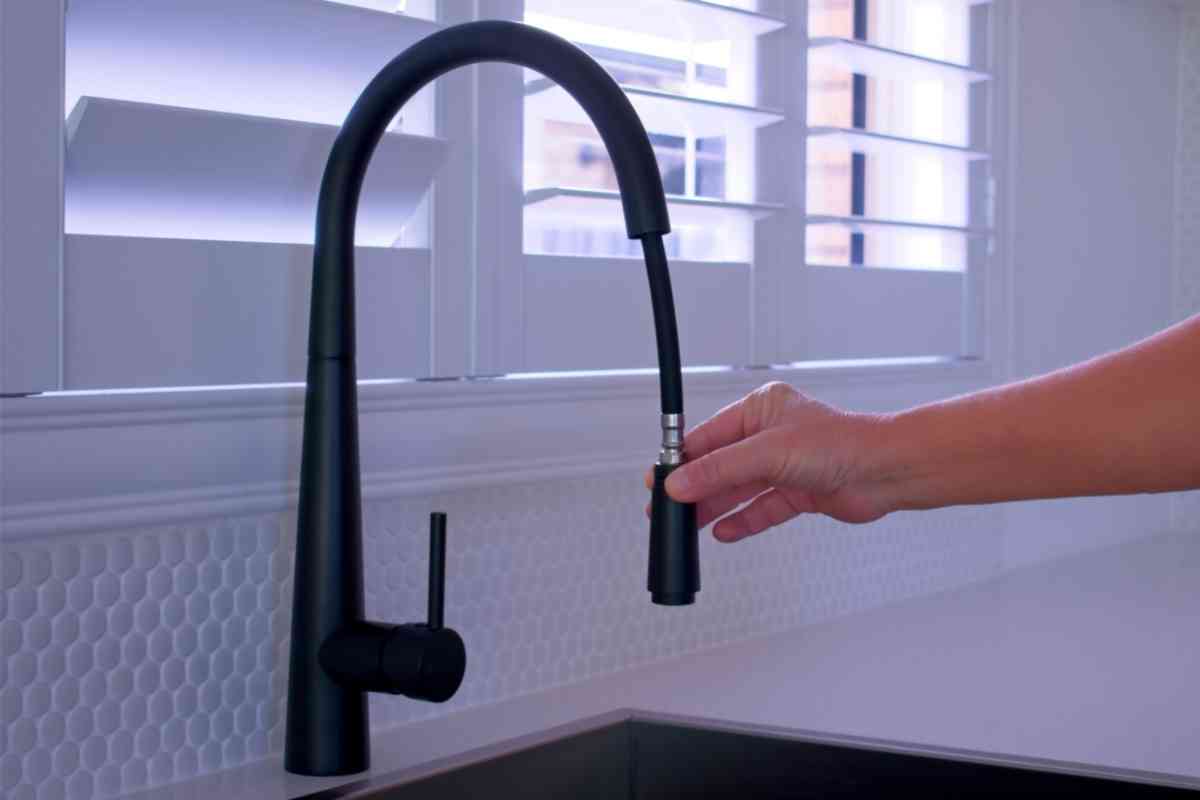
Remove the spray head or aerators from the faucet hose once you’ve determined that the blockage is in one of those. To remove the faucet spray head from the pull down hose, follow these steps:
- Keep the spray head and the pull down hose in your hands.
- It should be twisted clockwise from the connection.
- You’ll notice a rubber ring once you separate the connector. Don’t let it slip away.
- You must additionally secure and fix the pull down hose outside the faucet pipe.
- The hose may be able to fit within the pipe. Without a spray head, dragging it out might be tough.
- Roll duct tape around the hose and connection to secure it outdoors.
- Using a tool pick, remove the plastic screen from the spray head.
- Hard water can also cause plastic screens to jam. It aids in the formation of streamlets in the water.
- You may now begin cleaning your spray head.
What Basic Tools and Equipment are Required to Clean the Faucet Spray Head?
To clean the faucet spray head, you must have basic tools and equipment. Without these items, you may not be able to do this task efficiently and appropriately. Check out your toolbox and see if there are any of these materials within your reach:
- Pliers
- Container flashlight (clamp or clothespin)
- An adjustable wrench
- Screwdriver with a flat head
- A sponge or a brush
- White Vinegar
Cleaners for Cleaning a Pull Down Kitchen Faucet Spray Head
White Vinegar
White vinegar is an excellent cleaning product for removing hard water deposits, stains, and rust. It also has antibacterial benefits due to its inherent cleaning capabilities.
Vinegar can be used to clean the spray head. All you’ll need is water, white vinegar, a smooth brush/sponge, and a soft towel.
Procedure
- Pour a cup of vinegar into a basin or sink
- Remove the aerator from the spray head of the faucet and soak it in vinegar.
- You can also moisten the polymer screen that inhibits particles from entering the spray head.
- Allow for a soak time of around one to two hours.
- Vinegar softens hard water deposits over time.
- Scrub the spray head with a paintbrush after removing it from the vinegar.
- With a brush, thoroughly clean the holes until they are all open.
- Using the same method, clean the screens and aerator.
- While keeping the spray head submerged in water, look for any leftover residue.
- If the spots are still present, repeat the procedure.
- After washing and drying the goods under running water, reattach them.
Baking Soda and Dishwashing Soap
Baking soda is an excellent cleaner. It may be used to get rid of stains and dirt. It also removes the odors from the objects. Washing dishes will give your mixture a soapy, frothy texture. It also softens the hard water that has accumulated in the faucet.

You will need baking soda, a brush, water, dishwashing liquid, toothpicks, water, a bowl, and a soft cloth.
Procedure
- Take out a container and place it inside. Add two teaspoons of liquid soap to the mix.
- Mix in the water until you have a frothy texture.
- Add a couple of tablespoons of soda to the mix. Make a thorough mix.
- Before using, dip the spray head inside the mixture for approximately two hours.
- Although these cleaning chemicals are gentle and harmless to use, they do take longer to eliminate residues.
- Remove the spray nozzle and use a brush to scrape it clean.
- Minor perforations in your aerator can easily be opened with a toothpick.
- Reattach the hose after rinsing it with water and drying it.
Conclusion
Cleaning your pull down kitchen faucet spray head is a quick and easy process. You need some vinegar, water, and a few minutes of your time. Follow these simple steps to get your faucet looking and functioning like new again. There you have it, a simple guide on cleaning your kitchen faucet spray head.
