
Clarifying butter is a process that involves separating the milk solids from the fat, resulting in a clear, golden liquid that has a higher smoke point and a longer shelf life than regular butter. While traditional methods involve simmering butter on the stovetop, using a microwave is a quick and convenient alternative. In this article, we will explore the process of clarifying butter in the microwave, the necessary tools and ingredients, step-by-step instructions, tips for perfect results, and how to store and use clarified butter.
Understanding the Process of Clarifying Butter
Before we dive into the specifics of using a microwave to clarify butter, let’s first understand the science behind this process. Clarified butter is made by melting butter and then allowing the milk solids to settle and separate from the pure fat. These milk solids, which include proteins and water, are what give regular butter its rich flavor and creamy texture. By removing them, we are left with a pure, clarified butter that is perfect for culinary applications.
The Science Behind Clarified Butter
When butter is heated, the water content evaporates, and the milk solids sink to the bottom of the container. The clear, golden liquid on top is the clarified butter. This separation occurs because the fat in butter has a lower density than the milk solids. By carefully removing the top layer, we can extract the clarified butter while leaving behind the milk solids.
During the process of clarifying butter, it is important to maintain a gentle heat to prevent the butter from burning. The low heat allows the water to evaporate slowly, giving the milk solids enough time to settle at the bottom. It is also crucial to avoid stirring the butter while it is clarifying, as this can disturb the separation process and mix the milk solids back into the clarified butter.
Additionally, the process of clarifying butter can be done using various methods, including the traditional stovetop method, the microwave method, and even using a slow cooker. Each method has its own advantages and may be preferred based on personal preference and convenience.
Why Clarify Butter?
Clarified butter offers several advantages over regular butter. First, it has a higher smoke point, which means it can be heated to higher temperatures without burning. This makes it ideal for sautéing, frying, and other high-heat cooking methods. The higher smoke point of clarified butter is due to the removal of the milk solids, which are more prone to burning at high temperatures.
Second, the removal of the milk solids extends the shelf life of the butter, making it last longer in your refrigerator. The milk solids in regular butter can contribute to spoilage, but by clarifying the butter, we eliminate these components that can cause it to go bad more quickly. This can be particularly beneficial if you don’t use butter frequently or if you want to stock up on clarified butter for future use.
Finally, clarified butter has a rich and distinct flavor that enhances the taste of various dishes without overpowering them. The removal of the milk solids results in a butter that has a nutty and delicate flavor, making it a versatile ingredient in both sweet and savory recipes. Whether you’re making a batch of flaky croissants or sautéing vegetables, clarified butter can elevate the flavors of your dishes to new heights.
Necessary Tools and Ingredients for Clarifying Butter
Before you begin, gather the following tools and ingredients to make clarifying butter in the microwave a breeze:
Choosing the Right Kind of Butter
For best results, select high-quality unsalted butter. Unsalted butter is preferred to control the seasoning in your dishes. Additionally, using a higher fat content butter will result in a higher yield of clarified butter.
When choosing unsalted butter, it’s important to consider the source. Look for butter made from grass-fed cows, as it tends to have a richer flavor and a higher nutritional value. Organic butter is also a great option if you prefer to avoid pesticides and other chemicals that may be present in conventionally produced butter.
Another factor to consider is the freshness of the butter. Fresh butter will have a sweet and creamy taste, while older butter may have a slightly rancid flavor. Check the expiration date on the packaging to ensure you’re using the freshest butter possible.
Essential Kitchen Tools
To clarify butter in the microwave, you will need:
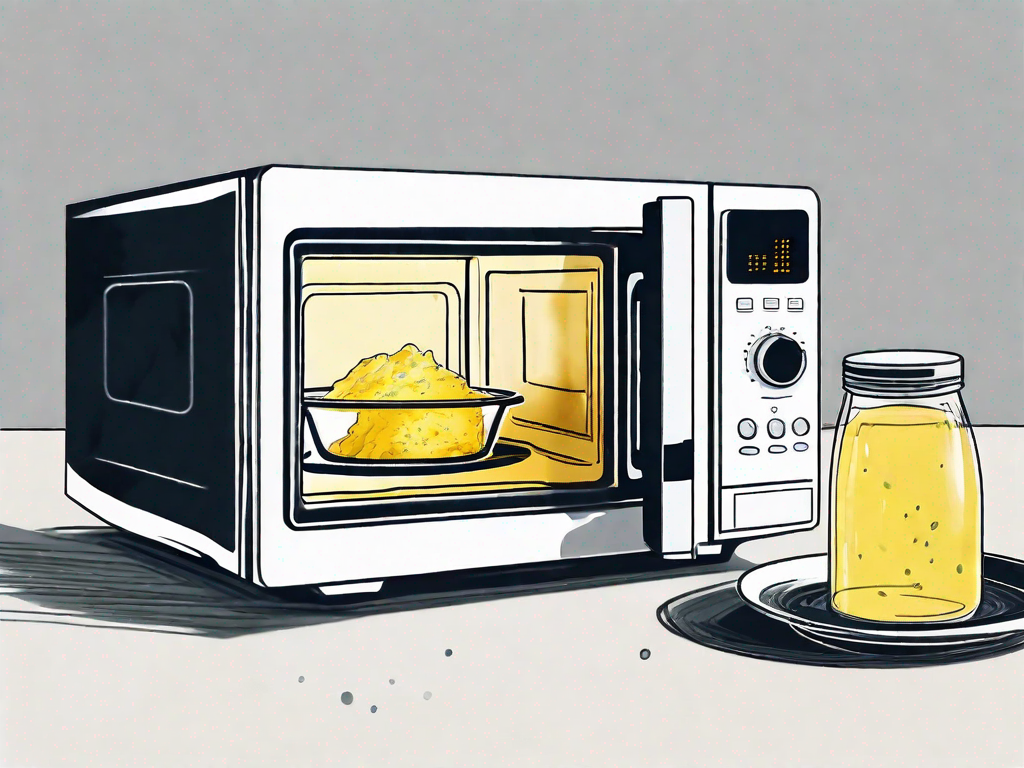
- A microwave-safe glass bowl
- A microwave
- A fine-mesh strainer or cheesecloth
- A clean glass jar or container for storing the clarified butter
When selecting a microwave-safe glass bowl, make sure it is large enough to hold the amount of butter you plan to clarify. It’s important to leave enough room for the butter to expand as it melts without overflowing.
As for the microwave, any standard microwave will do the job. However, if you have a microwave with adjustable power settings, it’s recommended to use a lower power setting to prevent the butter from overheating and splattering.
A fine-mesh strainer or cheesecloth is essential for removing any impurities or milk solids from the clarified butter. The fine mesh will catch even the smallest particles, resulting in a smooth and clear final product. If you don’t have a fine-mesh strainer, a cheesecloth can be used as a substitute. Simply line the strainer with the cheesecloth and strain the melted butter through it.
Lastly, you’ll need a clean glass jar or container to store the clarified butter. Make sure the container is airtight to prevent any moisture or odors from getting in. It’s best to choose a container with a wide mouth for easy scooping and measuring.
Step-by-Step Guide to Clarifying Butter in the Microwave
Preparing Your Butter for the Microwave
Start by cutting the butter into small cubes or slices. This will help it melt more evenly and quickly in the microwave. Place the butter in a microwave-safe glass bowl.
When choosing the butter for clarifying, it’s important to use unsalted butter. Salted butter contains additional moisture and impurities that can affect the clarity of the final product. So, opt for unsalted butter to achieve the best results.
Additionally, you can use any amount of butter you desire. Whether you’re clarifying a small amount for a specific recipe or a larger batch for future use, the process remains the same.
Microwaving the Butter
Place the bowl with the butter in the microwave and heat it on high for about 1 minute. Keep an eye on the butter as it melts to ensure it doesn’t splatter or overflow. Microwave times may vary depending on the wattage of your microwave, so adjust accordingly.
It’s important to note that microwaving the butter in short intervals and checking on it frequently can help prevent any accidents. If you notice the butter starting to bubble or boil, stop the microwave and let it cool for a few seconds before continuing.
While microwaving the butter, you may notice a pleasant aroma filling your kitchen. The butter will release its natural flavors and fragrance, enhancing the overall experience of clarifying butter at home.
Separating the Milk Solids
After microwaving, you will notice that the melted butter is divided into three layers: frothy foam on top, clarified butter in the middle, and milk solids settled at the bottom. Use a spoon to skim off the foam on top, discarding it. Then, carefully pour the clarified butter into a separate container, leaving the milk solids behind. If desired, you can strain the clarified butter through a fine-mesh strainer or cheesecloth to ensure a completely clear and pure end product.
The frothy foam that forms on top of the melted butter consists of water and milk solids. Skimming off this foam is essential to achieve a clarified butter that is free from impurities and has a longer shelf life.
When pouring the clarified butter into a separate container, make sure to do it slowly and steadily. This will allow the milk solids to settle at the bottom, preventing them from mixing with the clarified butter. The result will be a beautifully golden, translucent liquid that is perfect for cooking, baking, or drizzling over your favorite dishes.
If you prefer an even more refined and pure clarified butter, you can strain it through a fine-mesh strainer or cheesecloth. This additional step will remove any tiny milk solids that might have escaped during the skimming process, resulting in a perfectly clear and smooth clarified butter.
Tips for Perfectly Clarified Butter Every Time
Clarified butter is a versatile ingredient that can elevate the flavors of your dishes. Whether you’re using it for sautéing, baking, or simply as a spread, achieving perfectly clarified butter is key. Here are some tips to keep in mind:
Avoiding Common Mistakes
When clarifying butter, it’s important to avoid common mistakes that can affect the final result:
- Do not overheat the butter: Overheating the butter can lead to a burnt or off-flavored end result. To prevent this, it’s best to microwave the butter in short increments and adjust the time accordingly. This will ensure that the butter melts evenly without getting too hot.
- Be gentle when separating the milk solids: When clarifying butter, the goal is to separate the milk solids from the golden liquid. To prevent the milk solids from mixing with the clarified butter, it’s important to be gentle during the process. You can use a spoon or a fine-mesh sieve to carefully remove the solids, ensuring that only the pure, clarified butter remains.
Ensuring Optimal Texture and Flavor
If you’re looking to enhance the flavor of your clarified butter, here’s a tip:
Brown the butter before clarifying: If you desire a richer flavor, you can brown the butter slightly before clarifying it in the microwave. This additional step will add a nutty aroma and deepen the taste of the clarified butter. To do this, simply heat the butter in the microwave for a few additional seconds until it turns a light golden color. Once the butter is browned, you can proceed with the usual clarifying process, separating the milk solids from the golden liquid.
By following these tips, you can achieve perfectly clarified butter every time. Whether you’re using it to enhance the flavors of your favorite recipes or to add a touch of richness to your morning toast, clarified butter is a versatile ingredient that can elevate your culinary creations.
Storing and Using Your Clarified Butter
Best Practices for Storing Clarified Butter
Once you have clarified your butter, transfer it to a clean glass jar or airtight container. Store it in the refrigerator, where it will remain solid and stable for up to several months. The absence of milk solids in clarified butter helps prevent spoilage and rancidity.
Culinary Uses for Clarified Butter
Clarified butter has numerous culinary applications. It can be used for sautéing vegetables, searing meats, frying eggs, and even making desserts like ghee-laced cookies. Its high smoke point makes it an excellent choice for dishes that require high-temperature cooking. Additionally, clarified butter adds a rich taste and smooth texture to sauces, soups, and butter-based spreads.
Now that you have learned how to clarify butter in the microwave, give it a try and experience the convenience and benefits of this simple cooking technique. With a few minutes and the right tools, you can transform regular butter into a versatile and flavorful ingredient that will elevate your culinary creations.
