

I hear many people say making gluten-free bread at home is a waste of time as there are so many loaves sold in the supermarkets these days. Without a doubt, it’s easier to buy one in the nearest grocery store, but are you sure about what ingredients that bread contains?
 It’s not a secret that manufacturers use different tricks to increase the shelf life of their products. When you make your own bread, though, you know what you put to it and you’re confident about its quality.
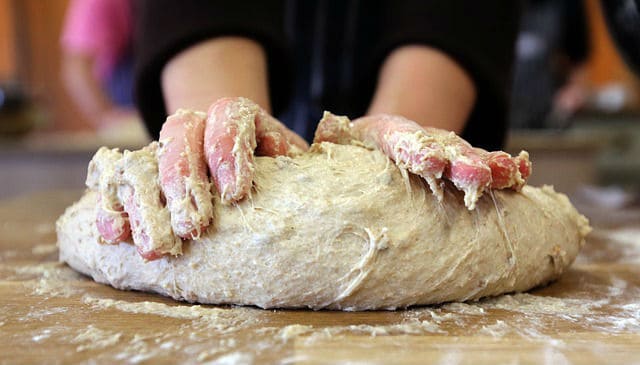
If you have gluten intolerance and you strive to bake your own bread, here’s an easy-to-follow gluten-free bread recipe to try. It makes 2 loaves for a big family. So get your bread maker ready!
Gluten-Free Bread
Ingredients
- 2 cups brown rice flour
- ½ cup sweet rice flour
- 1½ cups millet flour or sorghum flour
- 1 cup gluten-free oat flour
- ½ cup potato starch
- 1 cup tapioca starch/flour, optional
- 2 packages active dry yeast
- 1 tablespoon salt
- 2 teaspoons xanthan gum
- 5 eggs (if you’re allergic to eggs, mix 5 tablespoons ground flax seed and 12 tablespoons plain water)
- 4 tablespoons amber agave nectar or maple syrup
- 2½ cups low-fat or nut milk
- ½ cup non-dairy margarine or shortening, melted
- ½ cup gluten-free oats
- 1 egg white, beaten with a fork or lightly whisked to brush the top of your bread
Instructions
- Preheat your oven to 350 degrees.
- Grease well 2 9-inch bread pans, slightly dust with the brown rice flour, and set aside.
- In the mixing bowl of your stand mixer with a paddle attachment, combine together the oat flour, brown rice flour, sorghum flour, potato starch, tapioca starch/flour, salt, sweet rice flour, xanthan gum, and dry yeast. Mix on a low speed for several seconds until well-combined.
- In a medium bowl, whisk the shortening, eggs, milk, and maple syrup.
- Add it to the flour mixture and mix on low speed until well combined. Mix for another 5 minutes on medium-high until you get a very thick batter.
- Divide the batter into 8-inch bread loaves and place each in the bread pans. Lightly brush the top of each loaf with egg white, using a pastry brush. Sprinkle with the gluten-free oats on top of each for added crunchy texture and nutrition.
- Let your loaves sit in a warm place until almost doubled in size, for about 40-50 minutes.
- Place the loaves in the preheated oven and bake for about 40 minutes, or until they have a hard shell and golden brown on top.
- Let the loaves cool for at least 15 minutes. Then, remove them from the pans, place on a rack, and allow them to cool completely. Don’t cut a loaf right away. Otherwise, you’ll flatten your bread and it’ll be ruined.
Nutrition Information:
Yield: 2 loaves Serving Size: 1Amount Per Serving: Calories: 3492Total Fat: 121gSaturated Fat: 26gTrans Fat: 9gUnsaturated Fat: 89gCholesterol: 478mgSodium: 3758mgCarbohydrates: 520gFiber: 32gSugar: 42gProtein: 87g
The bread-making process requires a lot of patience, quiet, certain baking skills, and of course, time. However, you can get rid of all the hustle by baking your bread in a bread maker. Anyway, both methods will leave you with a pleasant smell of freshly baked bread in your house.
